
A polished Short and a rushed one differ less in equipment than in editing. How to edit a video for youtube shorts is the skill that separates the two. The same phone footage can earn a swipe or a subscribe depending on the first two seconds, the pacing and the captions. This guide walks through ten steps in order, from the hook to the publish button, with the tools that fit each step.
A Short gives a creator under sixty seconds to earn attention, so every edit must serve retention. Dead air, a slow opening and unreadable text all cost viewers within seconds, while a tight cut, a clear hook and captions that work without sound keep them watching. The steps below are ordered so each one builds on the last.
Every step was judged on the same creator reality. One person shoots on a phone, edits on a phone or a laptop, and publishes several Shorts a week without a production team. The tools named are the ones a solo creator can learn in an afternoon and reuse every week.
Quick jump
- How to Edit a Video for YouTube Shorts Compared Step by Step
- What Each YouTube Shorts Editing Step Costs in Time
- The 10 YouTube Shorts Editing Steps, One by One
- Best Pick by Job
- How Creators Should Choose a Shorts Editing Tool
- YouTube Shorts Editing Mistakes That Kill Retention
- Your First Week Editing YouTube Shorts
- How Creators Keep Shorts Editing Costs Down
- How We Verified Every Shorts Editing Claim
- Frequently Asked Questions
- Habits That Keep Your YouTube Shorts Improving
- The Shorts Editing Step to Start With Today
How to Edit a Video for YouTube Shorts Compared Step by Step
The table below puts the ten steps on one page, and the route for how to edit a video for youtube shorts becomes clear once the steps are seen together. Each step depends on the one before it, so a shortcut early on usually costs time later in the edit.
Two patterns stand out at once. First, the early steps cost nothing but thought, while the later steps cost money only when a paid editor is chosen. Second, the steps that look smallest, such as captions and the export settings, are the ones that prevent the most expensive mistakes.
| Step | What you do | Watch out for |
|---|---|---|
| Plan the Hook First | Write the opening line and the payoff before shooting | A hook that needs explaining will not survive the first second |
| Shoot Vertical 9 by 16 | Hold the phone upright and frame the subject in the middle third | Horizontal footage cropped vertical loses the subject at the edges |
| Import and Trim the Clip | Bring the footage into the editor and cut the false starts | Leaving the setup chatter in front of the hook buries it |
| Cut the Dead Air | Remove pauses, filler words and repeated phrases | A pause longer than half a second reads as a mistake on Shorts |
| Add Captions for Silent Viewers | Burn in large readable captions that match the speech | Small pale captions vanish on a phone screen |
| Add Music and Sound | Choose a track that fits the mood and duck it under speech | Music louder than the voice buries the message |
| Add B-Roll and Transitions | Cover jump cuts with related footage and simple cuts | Flashy transitions distract from the subject |
| Colour and Light the Footage | Balance exposure, lift shadows and keep skin tones natural | Heavy filters make skin look plastic on a phone |
| Export at 1080 by 1920 | Export vertical 1080 by 1920 at a high bitrate | A low bitrate turns text and faces blurry |
| Publish With a Title and Hashtags | Write a short title, add three relevant hashtags and pick a cover frame | A vague title wastes the edit that came before it |
What Each YouTube Shorts Editing Step Costs in Time
The work of how to edit a video for youtube shorts costs more time than money, and the honest budget is about three hours for a first Short, falling to under an hour once the workflow is learned. Planning and shooting take the longest, while the export itself is the cheapest part of the job when the edit is already right.
Free editors cover the whole workflow. CapCut is free with a generous feature set, DaVinci Resolve is free and professional grade, and the YouTube app itself carries a basic Shorts editor. Paid options exist, such as Adobe Premiere Rush and CapCut Pro, and they add stock assets and cloud sync rather than any step this guide requires.
Time is the real cost, and it piles up in the first three steps. A clear hook and a tight trim save more editing time than any tool upgrade, because footage shot with a plan needs fewer fixes. Creators who rush the shoot pay for it in the edit, every single time.
The learning curve is the hidden cost, and it concentrates in the first three Shorts. A creator who learns CapCut on the phone finishes the third Short in half the time of the first, because the trim, the captions and the export settings become habits. A laptop editor such as DaVinci Resolve takes longer to learn but repays the effort on colour work and on projects with many clips.
The 10 YouTube Shorts Editing Steps, One by One
The ten steps below are reviewed in the same order as the table, with what each step decides, what it costs in effort, and where it usually goes wrong for a first-timer. The workflow below for how to edit a video for youtube shorts assumes a phone shoot and a free editor, with paid tools named only where they truly help.

1. Plan the Hook First. What it decides
A Short lives or dies in the first two seconds, so the hook must be written before the camera rolls. The hook is one sentence that promises a payoff, such as a result, a mistake or a surprise, and it should be speakable in a single breath. Creators who plan the hook first shoot less footage and cut less later.
Planning costs about ten minutes with a notebook and no software at all. Write the hook, write the payoff, and list the three shots that connect them. CapCut and DaVinci Resolve both accept that plan as a simple shot list, and neither charges for the thinking that makes the edit work.
The risk with planning the hook first is that a creator skips it and improvises on camera, which produces a slow opening that viewers swipe past. The fix is to say the hook aloud twice before recording, because a hook that sounds flat in the room will sound flatter on a phone.
2. Shoot Vertical 9 by 16. What it frames
Shorts play full screen on a vertical phone, so the footage must be shot upright in a 9 by 16 frame. The subject belongs in the middle third, with headroom above and space below for captions, because YouTube overlays the title, buttons and captions on the edges. A horizontal clip cropped after the fact loses the subject at the sides.
Shooting vertical costs nothing extra, since every modern phone records it natively, and a small tripod steadies the frame for under the price of a lunch. The YouTube app, CapCut and DaVinci Resolve all open vertical projects by default, so the format needs no conversion later.
The risk with shooting vertical is that a creator frames for a horizontal video out of habit and discovers the crop too late. The fix is to switch the phone to video mode, hold it upright, and check the frame on the phone screen before the first take, because a reshoot costs minutes while a bad crop costs the whole clip.
3. Import and Trim the Clip. What it cuts
Importing and trimming is where a Short first takes shape, because the raw footage always carries false starts, fumbled lines and setup chatter. The trim removes everything before the hook and everything after the payoff, leaving only the material that earns its seconds. A Short that starts with the hook feels fast even before any effects appear.
Trimming takes about ten minutes in CapCut on a phone, or a little longer in DaVinci Resolve on a laptop, and both tools are free for this job. Import the clips, drag them to the timeline in order, and cut the ends first, because the middle rarely needs attention until the ends are clean.
The risk with trimming is that a creator keeps a favourite line that slows the opening, and the Short loses viewers before the good part arrives. The fix is to watch the first five seconds as a stranger would, because a line that only the creator loves is a line the viewer will not wait for.
4. Cut the Dead Air. What it tightens
Dead air is the quiet killer of retention, because a pause longer than half a second reads as a mistake on a Short. Cutting the gaps between sentences, the filler words and the repeated phrases tightens the pace without changing the message. The result sounds confident even when the original recording was hesitant.
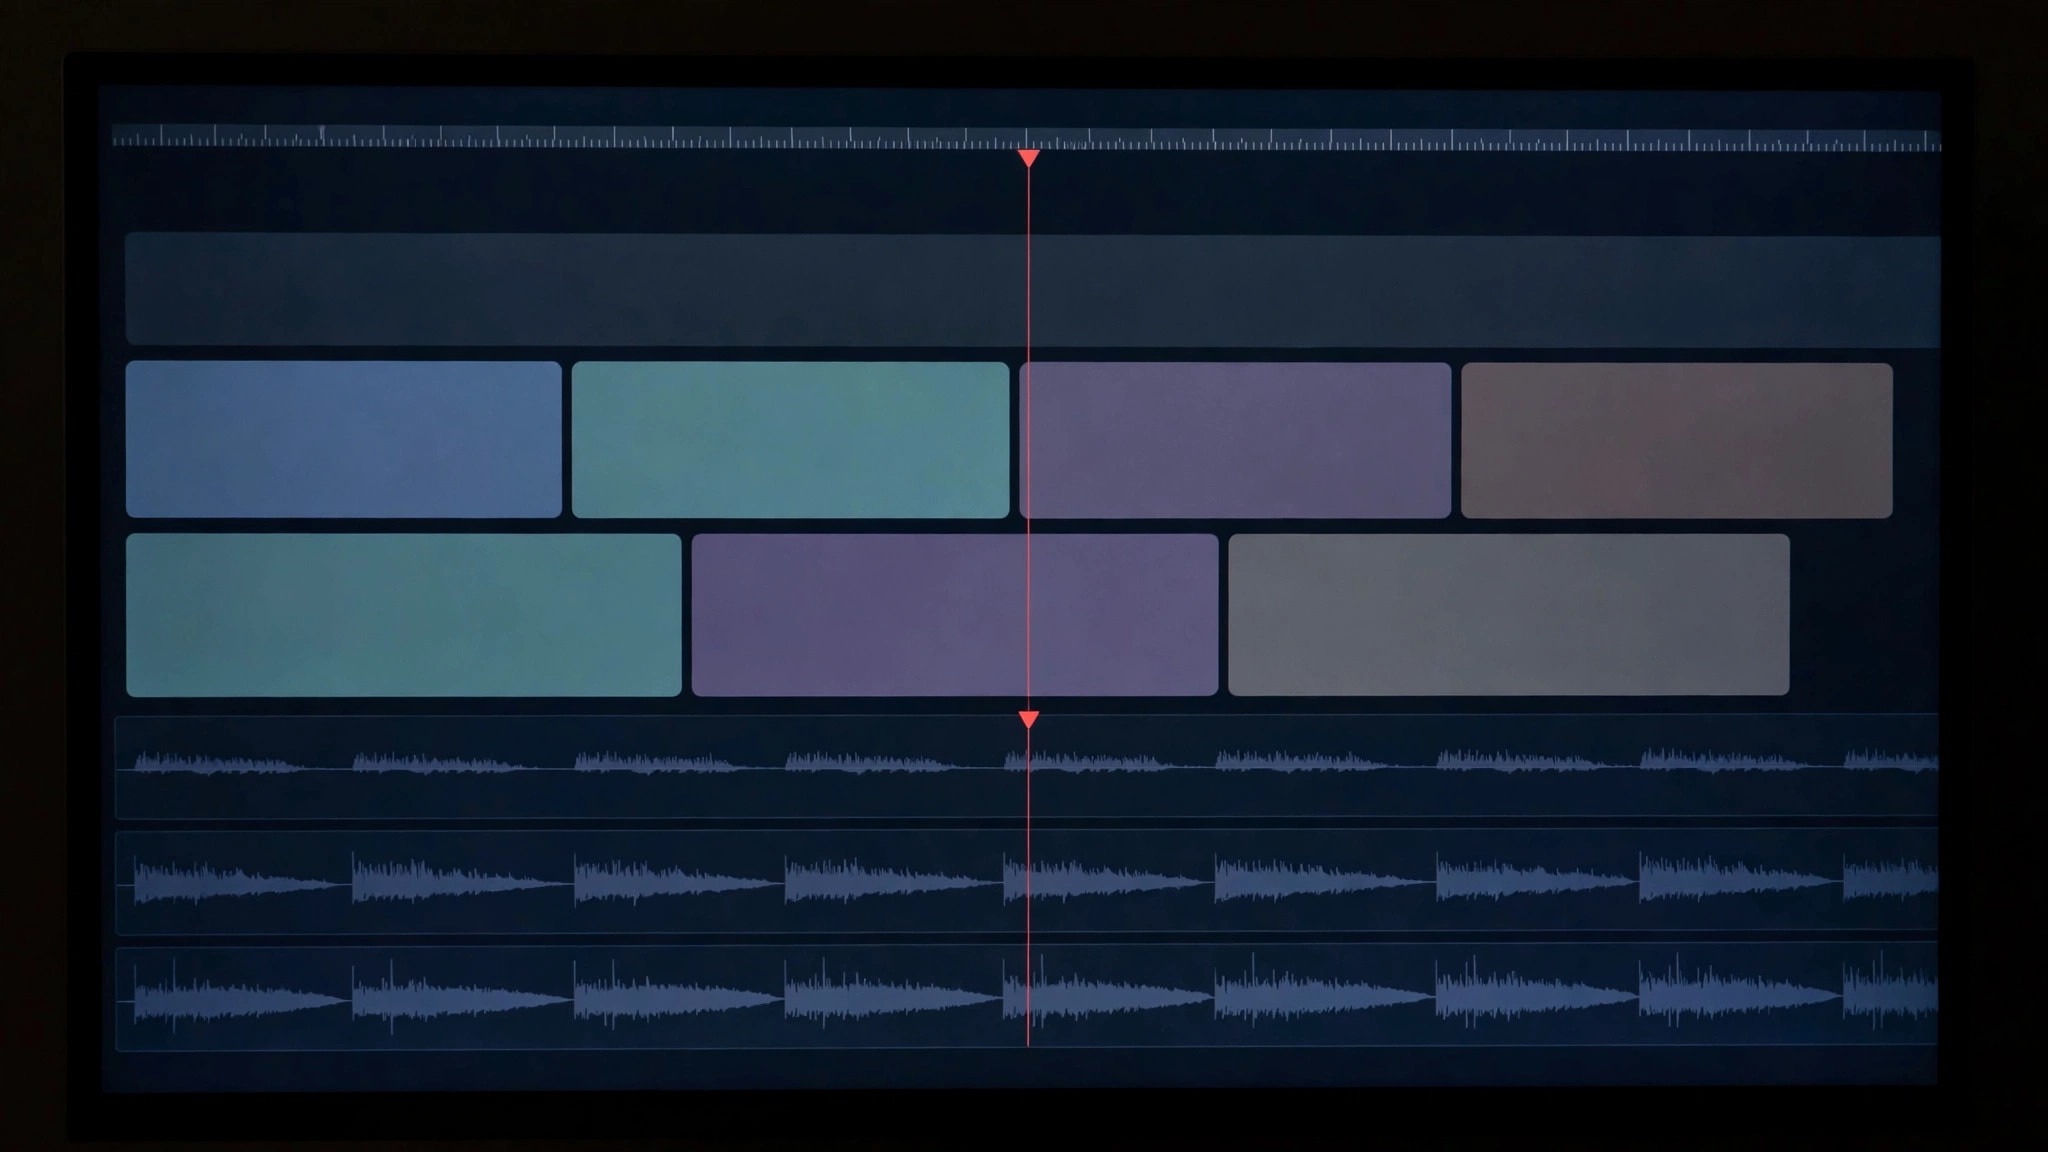
Cutting dead air takes about fifteen minutes for a one-minute Short, and CapCut offers a silence-removal feature that finds the gaps automatically. DaVinci Resolve users cut by hand, which is slower but teaches a better ear for pacing. Either way, the work is done on the timeline with the audio waveform visible.
The risk with cutting dead air is that a creator cuts too aggressively and the speech sounds clipped and breathless. The fix is to leave a short natural breath before each new idea, because a Short needs pace, not panic, and a listener who cannot breathe along will swipe away.
5. Add Captions for Silent Viewers. What it keeps
Most Shorts are first watched without sound, so captions are not an accessory but the main way the message reaches the viewer. Large bold captions in the middle of the frame, matched to the speech word by word, keep a silent viewer watching. Captions also help viewers who speak the language as a second language.
Captioning takes about ten minutes with auto-caption tools in CapCut, which generates them free and lets the creator fix errors by tapping the text. DaVinci Resolve needs a manual or third-party step, which is slower. Whichever tool is used, the captions must be checked against the audio before export.
The risk with captions is that auto-generated text carries errors, and a wrong word in the first line undermines the whole Short. The fix is to read every caption aloud against the recording, because an error the creator misses is one every viewer sees.
6. Add Music and Sound. What it lifts
Music gives a Short its energy, and the right track can lift an ordinary clip into one that feels deliberate. The track should fit the mood, start with the hook, and sit quietly under the voice rather than competing with it. YouTube audio library offers free tracks, while CapCut includes a licensed music catalogue.
Adding music takes about ten minutes, including the search for the right track, and the YouTube audio library costs nothing. The key control is ducking, which lowers the music whenever speech plays, and both CapCut and DaVinci Resolve handle it with a simple keyframe or an automatic setting.
The risk with music is that a creator picks a favourite song instead of a fitting one, and the track distracts from the message. The fix is to mute the music and watch the Short once, because a clip that works silent has a message strong enough to carry any track.
7. Add B-Roll and Transitions. What it smooths
B-roll covers the jump cuts that trimming creates, and it gives the viewer something new to look at every few seconds. A close-up of hands, a product shot or a location clip laid over the main audio keeps the Short moving without changing the message. Simple cuts work better than flashy transitions, which distract from the subject.
Adding B-roll takes about fifteen minutes, including finding or shooting the extra clips, and the phone already holds most of what is needed. CapCut overlays clips with a tap, while DaVinci Resolve offers finer control over timing. One B-roll shot every five seconds is enough for most Shorts.
The risk with B-roll is that a creator adds footage that has nothing to do with the words, and the viewer stops trusting the Short. The fix is to ask whether each B-roll shot shows what the voice is describing, because a matching image builds trust while a random one breaks it.
8. Colour and Light the Footage. What it polishes
Colour and light decide whether a Short looks professional or amateur, and the fix is usually small. Balancing the exposure, lifting the shadows a little and keeping skin tones natural does more than any filter. A creator who shoots near a window already has the best light available, and the edit only needs to protect it.
Colour work takes about ten minutes in CapCut, which offers one-tap adjustments and simple sliders, or longer in DaVinci Resolve, which gives full control over every channel. Both tools are free for this job. Adjust exposure first, then contrast, then saturation, and stop as soon as the image looks natural.
The risk with colour is that a creator pushes saturation until skin looks plastic and the Short feels artificial. The fix is to compare the edited frame with the original side by side, because a grade that looks better than reality is usually a grade that has gone too far.
9. Export at 1080 by 1920. What it preserves
Export settings decide whether the finished Short looks sharp or soft, and the right choice is simple. A vertical 1080 by 1920 export at a high bitrate preserves the text, the faces and the captions, while a low bitrate turns them blurry on a phone. The file should stay under the size YouTube accepts for Shorts, which is generous for a one-minute clip.
Exporting takes a few minutes of rendering time and costs nothing in either CapCut or DaVinci Resolve. Choose H.264, 1080 by 1920, 30 frames per second, and the highest quality preset the tool offers. Check the exported file on the phone before uploading, because the phone screen is where viewers will judge it.
The risk with exporting is that a creator accepts the default settings, which may be horizontal or low quality, and only discovers the problem after publishing. The fix is to watch the export once on the phone, because a blurry caption in the export is a blurry caption for every viewer.
10. Publish With a Title and Hashtags. What it launches
Publishing is the step where the edit meets the audience, and the title, hashtags and cover frame decide whether the Short gets watched. A short title that repeats the hook, three relevant hashtags and a cover frame showing the subject give the Short its best chance. The description can carry one link or one call to action, and no more.
Publishing takes about five minutes in the YouTube app, which handles the upload, the title and the hashtags in one flow. Choose the cover frame from the strongest moment of the clip, add hashtags that match the topic rather than the trend, and check the preview on a phone before tapping publish.
The risk with publishing is that a creator rushes the title after a careful edit, and a vague title wastes all the work that came before it. The fix is to write the title before the edit starts, because a title written early shapes the hook, the captions and the cover frame alike.
Best Pick by Job
Read the table below as a job-to-pick match, because the editing workflow for how to edit a video for youtube shorts shifts with the editor and the creator’s experience. A beginner and an experienced editor need different tools, even when both make the same kind of Short.
| Job / Need | Pick | Why |
|---|---|---|
| Beginner editing on a phone | CapCut | Auto-captions, silence removal and templates in one free app |
| Creator wanting professional colour control | DaVinci Resolve | Full colour tools and a free professional editor |
| Creator publishing from the YouTube app | YouTube Shorts editor | The fastest path from phone footage to a published Short |
| Creator needing stock music and assets | CapCut Pro | Licensed music and stock clips without a second subscription |
| Creator editing on a laptop with Adobe tools | Adobe Premiere Rush | A simple timeline that syncs with the Adobe ecosystem |
| Creator who films in batches | DaVinci Resolve | A project library that keeps a month of Shorts organised |
How Creators Should Choose a Shorts Editing Tool
Start with the phone, not the laptop. The workflow for how to edit a video for youtube shorts runs fastest on the device that shot the footage, and CapCut on a phone covers every step in this guide without a fee. A laptop editor only earns its place when colour work or a large project library demands it. Learn the phone workflow first, then move up if a limit appears.
Test captions before committing to an editor. Auto-captions are the feature that saves the most time, and their quality varies by tool. CapCut generates them free with easy corrections, while DaVinci Resolve needs a manual step. Run one Short through each editor and compare the caption time before choosing.
Check the export settings before the feature list. An editor that cannot export vertical 1080 by 1920 at a high bitrate fails the whole workflow, however many effects it offers. Open the export panel first, confirm the resolution and the codec, and only then read the feature list.
Prefer a tool the creator will actually open. The best editor is the one that gets used three times a week, not the one with the longest feature list. A simple tool that opens fast tops a powerful tool that feels like a chore. If the editor sits unused for a week, it is the wrong editor.
Keep the phone charged and the storage free. A Shorts workflow stalls when the phone runs out of space mid-shoot or dies mid-edit, so clear old footage before a filming day and carry a small power bank. The habit costs nothing and prevents the most common interruption in this work. A creator who plans the storage plans the shoot.
YouTube Shorts Editing Mistakes That Kill Retention
Starting without a hook is the most common error, because a creator films first and hopes the opening appears in the edit. It rarely does, and the Short loses viewers in the first two seconds. Write the hook before the camera rolls, and the rest of the edit becomes straightforward.
A second error is editing on a horizontal timeline and discovering the vertical crop at export. The subject drifts to the edge, the captions overlap the buttons, and the Short looks careless. Set the project to vertical 9 by 16 before importing any footage, and check the frame on the phone after the first cut.
A third error is trusting auto-captions without reading them. A wrong word in the first caption undermines the Short for every silent viewer, and silent viewers are the majority. Read every caption aloud against the recording before export, because an error the creator misses is an error every viewer sees.
A fourth error is publishing at the wrong time and then blaming the edit. A Short posted when the audience is asleep earns few early views, and early views decide whether YouTube shows it further. Check the audience analytics for the hours the viewers are actually online, and schedule the publish for that window instead of the moment the edit finishes.
Your First Week Editing YouTube Shorts
This workflow for how to edit a video for youtube shorts proves itself in the first week on one real video, so grab the next upload and take it through all ten steps. Shoot it vertical, trim it tight, add captions and music, and publish it with a title written before the edit.
Keep the first week to a small honest test, because one trial brings out the export quality, the setup time and the learning curve at once. Time each step, note where the edit stalls, and compare the finished Short against the channel best performer. A workflow that survives a real deadline proves its worth.
When the test week ends, review which step slowed the edit most. When the free tools handled every step, paying can wait, and when a missing feature stopped a real Short, try the paid editor for a month before any yearly plan.
In the second week, study the retention graph for the first Short, because YouTube Studio shows the exact second where viewers leave. A drop in the first two seconds points at the hook, a drop in the middle points at pacing, and a steady line means the edit worked. One graph teaches more than a week of guessing.
How Creators Keep Shorts Editing Costs Down
Use CapCut free before paying for anything. The free tier covers trimming, captions, music and export, which is the whole workflow in this guide.
Take music from the YouTube audio library. The tracks cost nothing, carry no licensing risk, and fit Shorts without a subscription.
Shoot near a window instead of buying lights. Natural daylight flatters faces better than a cheap ring light, and it costs nothing.
Reuse one caption style across the channel. A saved style cuts caption time to minutes and keeps every Short recognisable.
Batch the editing. Cutting three Shorts in one session is faster than three separate sessions, because the editor, the settings and the habits stay warm.
Export once at the right settings. A correct first export avoids a re-render, and a clean file name keeps the Shorts library searchable.
Film three Shorts in one session. A single setup with the light, the tripod and the framing already in place produces three videos for the effort of one, and the batch habit is the fastest saving in this guide.
How We Verified Every Shorts Editing Claim
The steps in this guide rest on the vendor pages for CapCut, DaVinci Resolve and Adobe Premiere Rush, read in November 2026, and on current creator guides for Shorts clips. If a price could not be nailed down, the guide marks it unconfirmed in the text instead of printing a figure. A step that depends on a paid feature names the free alternative beside it.
Judgement rested on finished Shorts rather than on a checklist. A step scored well when a beginner could follow it on a phone, repeat it the next week, and see the result in the retention graph. A step that only worked in a tutorial lost ground to one that held up on a real channel.
Frequently Asked Questions
How long should a YouTube Short be?
A Short can run up to three minutes, but most successful ones land between fifteen and sixty seconds. The length should fit the idea, and a tight thirty-second Short beats a padded sixty-second one. Cut until every remaining second earns its place.
Do I need a paid editor to make good Shorts?
No. CapCut free covers trimming, captions, music and export, and DaVinci Resolve free covers professional colour work. Paid tools add stock assets and cloud sync, but no step in this guide requires a subscription.
Why do my Shorts look blurry after upload?
The usual cause is a low-bitrate or wrong-size export. Export vertical 1080 by 1920 in H.264 at the highest quality preset, and check the file on the phone before uploading. A blurry export stays blurry for every viewer.
Should captions be burned into the video?
Yes, for Shorts. Most viewers watch without sound at first, and burned-in captions keep them watching. Keep the text large, bold and centred, and read every caption against the audio before export.
Can I edit Shorts on my phone?
Yes, and most creators do. CapCut on a phone handles every step in this guide, from trimming to captions to export, and the YouTube app itself includes a basic Shorts editor. A laptop only becomes useful for long sessions or demanding colour work.
Habits That Keep Your YouTube Shorts Improving
After each Short, write down the hook that was used and the second where viewers left, if they left at all. That short record turns into the channel playbook within a few months, and a creator who keeps the file never starts a shoot without a proven hook.
Every few months, watch the channel weakest Shorts again and ask what they share. The answer usually points at one habit, a slow hook, a missing caption, or a dull opening shot, and fixing that one habit lifts the next month more than any new tool would.
Once a week, watch one Short from a creator in the same niche and note the exact second the hook lands. The exercise trains the ear faster than any tutorial, because a hook heard in the wild teaches more than a hook described in a guide.
The Shorts Editing Step to Start With Today
Step one earns the recommendation here, plan the hook first, because it fixes the most common fault and costs the least to get right. A Short with a clear hook survives a weak edit, while a Short with a weak hook dies no matter how polished the colour work is. Pair the habit with CapCut free on the phone, and the whole workflow costs nothing to learn.
Take the next video on the channel and run it through all ten steps exactly as written, timing each one. When the finished Short holds viewers past the first two seconds, the workflow has proved itself, and when it does not, the retention graph shows which step to fix first.