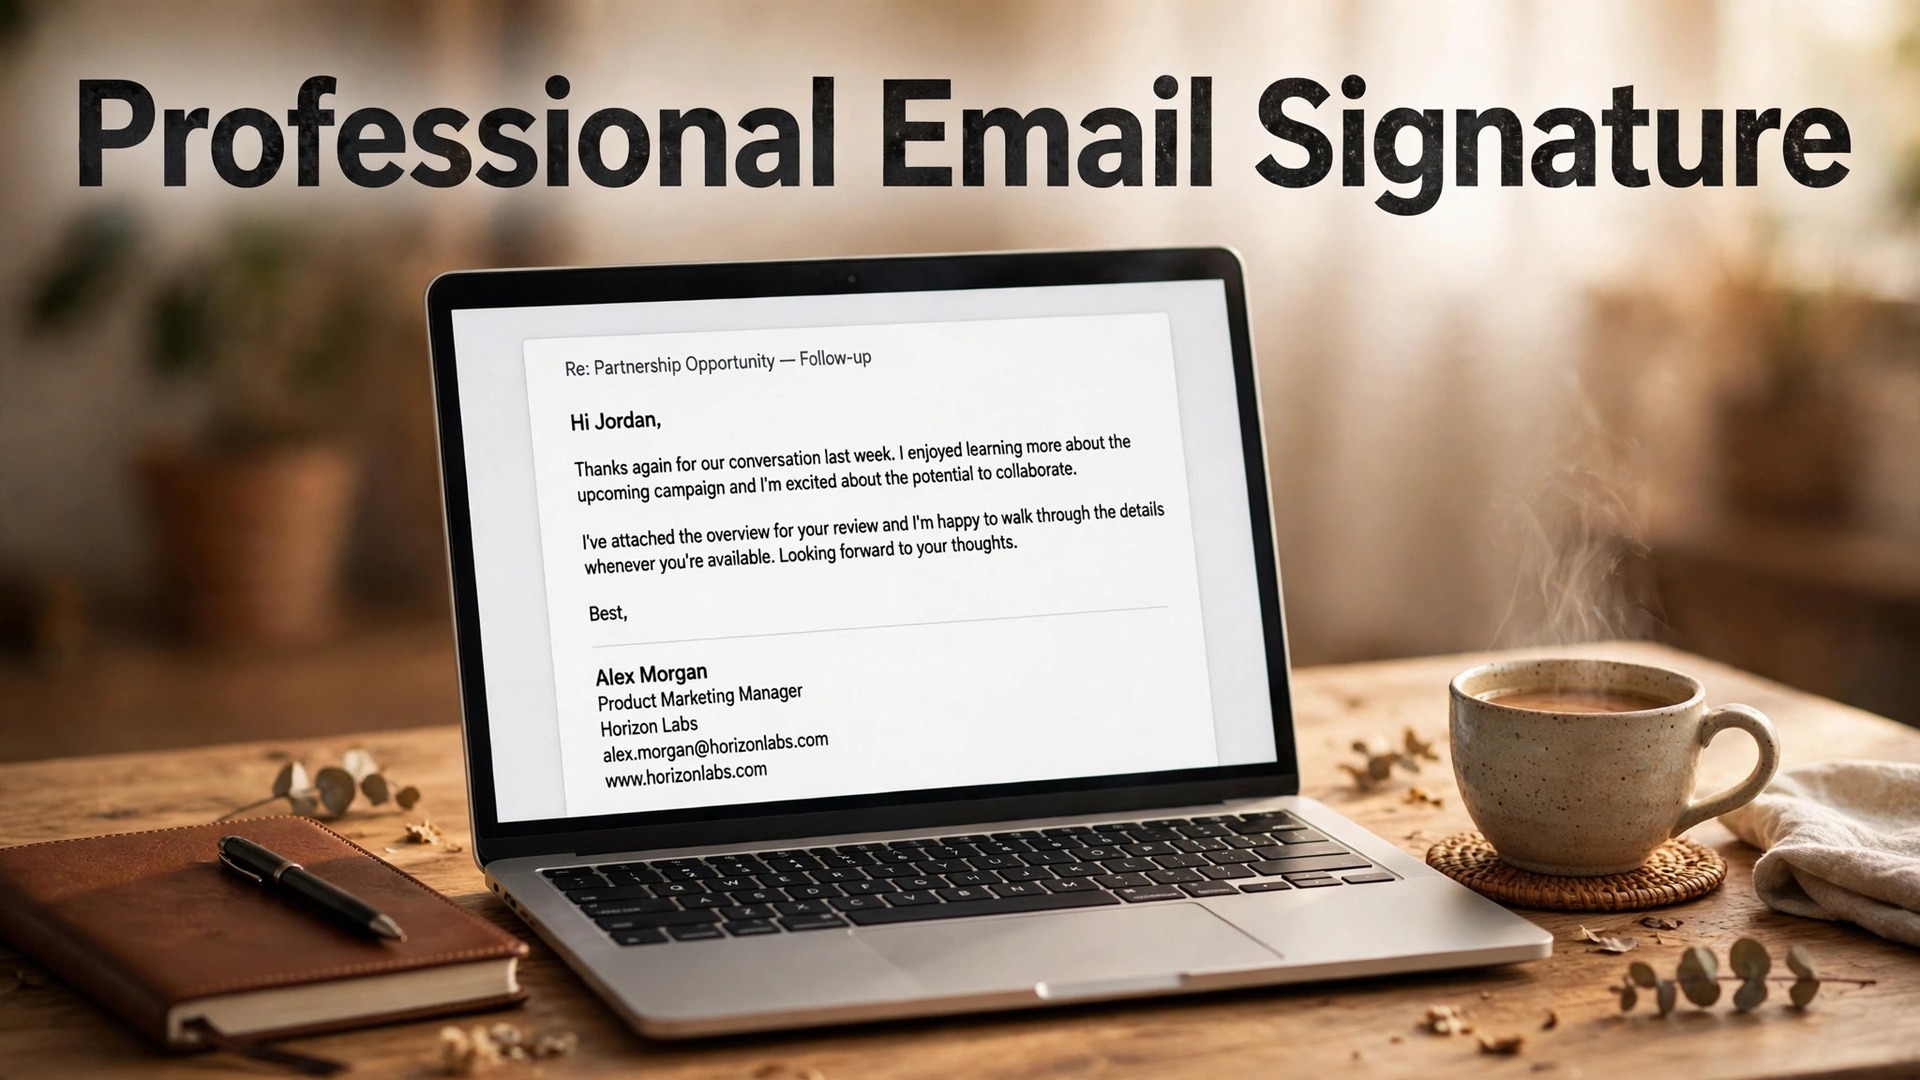
Every email you send ends with a signature, and most people never think about what theirs says. Learning how to create a professional email signature takes twenty minutes, and it changes how every email you send is received.
A hiring manager reads a resume, then reads the email it came in, and the signature is the last thing they see. A client reads a proposal, then reads the email it came in, and the signature is the last thing they see. A signature with a personal Gmail address, a quote, and a blurry logo tells the reader one story. A signature with a name, a title, a company, a phone number, and a clean logo tells a different one.
The good news is that you do not need design training or paid software. Free tools build the signature, Gmail and Outlook install it in a few clicks, and the rules are simple. Keep it short, keep the image small, put the contact details first, and test it on a phone before you use it. This guide walks through all of it, from the layout to the free tools to the install steps to the mistakes that make a good signature look amateur. That is the whole craft of how to create a professional email signature, and it fits in one guide.
Quick jump
- Quick Answer. How to Create a Professional Email Signature in 20 Minutes
- The Anatomy of a Professional Signature
- The Free Tools Worth Using
- How to Create a Professional Email Signature, Step by Step
- Design Rules That Make a Signature Look Professional
- Mistakes to Avoid With Your Email Signature
- Before You Send. The Signature Checklist
- How to Choose the Right Tool for Your Signature
- Related Guides
- Frequently Asked Questions
- The Bottom Line
Quick Answer. How to Create a Professional Email Signature in 20 Minutes
Here is the short version. Learning how to create a professional email signature comes down to five moves. Open a free generator such as HubSpot‘s Email Signature Generator or Canva, and enter your name, job title, company, phone number, and website. Add a small logo or a professional headshot, no wider than 600 pixels for the whole signature and no larger than 100 kilobytes for the image. Add two or three links at most, usually your website and one social profile. Preview the signature on a phone, then paste it into Gmail under Settings and General, or into Outlook under Settings and Mail, and send yourself a test email.
The whole job takes twenty minutes the first time and under five minutes once you have a template.
The single test that matters most is the phone test. Most emails are read on a phone, and a signature that looks clean on a desktop and breaks on a phone has failed at its only job. Send the test to yourself, open it on your phone, and check that nothing wraps badly, no image is missing, and every link works. If it passes, use it everywhere.
| Element | What to include | What to leave out |
|---|---|---|
| Name | Full name, as clients know you | Nicknames, unless clients use them |
| Title and company | Job title, company name | Three titles, unless they are real |
| Contact | Phone, website, one email | Fax numbers, home addresses |
| Image | Logo or headshot, small and sharp | Large banners, animated images |
| Links | Website plus one social profile | Five social icons, tracking links |
| Legal | Short disclaimer, if your industry needs it | Long legal paragraphs |
| Width | 320 to 600 pixels total | Full width banners |
The Anatomy of a Professional Signature
A professional signature has five parts, and each one earns its place. The name comes first, in a slightly larger and bolder font than the rest, because it is the one thing the reader has to remember. Under it goes the job title and the company name, in a smaller size, because they explain who the person is. Under that goes the contact line, with a phone number and a website, because those are the two things a reader acts on.
A small logo or a headshot sits to the left or the right of the text, because a face or a mark builds trust faster than words alone. Two or three links finish the block, usually the website and one social profile, because a reader who wants more will click, and a reader who does not want more will not be bothered.
The order matters more than most people think. A signature that leads with a logo and buries the name makes the reader work to find out who wrote the email. A signature that leads with five social icons and ends with the phone number makes the reader work to find out how to reply. Put the name first, the title second, the contact details third, and the links last, and the reader never has to search. That order is the same in every professional signature, from a solo consultant to a chief executive, because it follows the way a reader scans an email, from the top down, in about two seconds.
That order is the first lesson in how to create a professional email signature that gets read.
The size rules are simple and worth following exactly. Keep the whole signature between 320 and 600 pixels wide, because that is the width that fits a phone screen and a desktop pane without breaking. Keep any image under 100 kilobytes, and ideally under 50, because a large image slows the email and can be blocked by the reader’s mail app.
Keep the text to five lines or fewer, because a signature longer than the email looks like a footer, not a sign off. Use a standard font, such as Arial, Georgia, or Verdana, at 11 to 13 pixels for the body text, because a fancy font will not render on every device and the fallback will look worse than a plain font would have.
Colour is the last part of the anatomy, and the rule is restraint. One accent colour, taken from your company logo or your website, is enough. Use it for your name or for a small divider line, and keep the rest of the text dark grey or black. Two colours plus the logo is the most a signature should carry. A signature with five colours looks like a flyer, and a flyer is not what a reader wants at the bottom of a business email.
The Free Tools Worth Using
You do not need paid software to make a signature that looks professional. The tools below all build a signature for free, and each one suits a different kind of user. Pick the one that matches how you already work, because the fastest tool is the one you will actually finish with.
HubSpot Email Signature Generator. The Fastest Free Start
HubSpot’s Email Signature Generator is free, and it is the fastest way to a professional signature. You enter your name, title, company, phone, and website, pick a template, add a logo or a headshot, and the tool builds the signature with clean HTML you can copy into Gmail or Outlook. There is no account needed for the basic version, and the templates are built around the anatomy above, with the name first, the title second, and the contact details third.
The strength of HubSpot’s tool is that it does the layout for you. The templates are tested, the widths are right, and the HTML is clean enough to survive Gmail and Outlook without breaking. The weakness is customisation. You can change the colours and the fonts, but the layouts are fixed, so a signature built here looks like other signatures built here. For most people, that is fine, because a signature should look professional, not unique. If you want a signature in ten minutes with no design decisions, start here.
Canva. The Best Free Option for a Designed Signature
Canva offers free email signature templates, and it is the better pick if your signature needs to match a brand. You design the signature on a canvas, add your logo, your colours, and your fonts, and export it as an image or copy the layout into a generator. Canva Pro, at about 120 dollars a year, adds background removal, a brand kit that stores your colours and fonts, and more templates, but none of those are required for a good signature. The free plan covers the whole job.
The strength of Canva is design control. A business with a strong visual brand can make a signature that matches the website, the business card, and the social posts, and that consistency tells a reader the business is run with care.
The weakness is that Canva exports an image, and an image only signature has two problems. The text in the image cannot be copied, so a reader cannot tap the phone number to call you, and some mail apps block images by default, so the reader sees a blank box instead of your details. The fix is to use Canva for the logo and the layout, then build the text part in a generator or in HTML, so the contact details stay as real text. That fix is the part people skip when they learn how to create a professional email signature in Canva.
MySignature and WiseStamp. The Dedicated Signature Tools
MySignature is a dedicated signature tool with a free tier that covers a basic signature with a logo, links, and social icons. The paid plans add more templates, banners, and team features. It suits a user who wants a signature tool rather than a design tool, because the editor is built for signatures, with fields for each element and a live preview. The trade off is that the free tier is limited, and the best templates sit on the paid plans.
WiseStamp is the team option. It builds signatures for a whole company from one dashboard, with consistent branding, central control, and analytics on link clicks. It suits a business with five or more people who all need the same signature format, because one person can set the template and the whole team uses it. It does not suit a solo user, because the team features are the point, and a solo user pays for features they will never use. Both tools offer paid plans, so check the current pricing on their sites before you commit, and start with the free tier to test the output.
| Tool | Free plan | Best for | Watch out for |
|---|---|---|---|
| HubSpot Generator | Yes, fully free | Fastest start, clean HTML | Fixed layouts, limited customisation |
| Canva | Yes, fully | Brand matched design | Image only exports, text not clickable |
| MySignature | Yes, basic tier | Dedicated signature editor | Best templates on paid plans |
| WiseStamp | Trial, paid plans | Teams of five or more | Overkill for a solo user |
| Newoldstamp | Trial, paid plans | Teams, central control | Paid only for full features |
| Gmail and Outlook editors | Built in, free | Simple text signatures | No templates, manual layout |
How to Create a Professional Email Signature, Step by Step
With the anatomy and the tool chosen, the build itself follows seven steps. Work through them in order and resist the urge to skip the test at the end. The test is where most signatures are saved.
Step 1. Gather Your Details
Write down the exact details before you open any tool. Your full name as clients know you, your job title, your company name, your phone number, your website address, and your email address if it is different from the sending address. Decide on one social profile, usually LinkedIn for business, and copy its link. Decide whether your industry needs a legal disclaimer, such as a confidentiality notice, and copy the shortest version your company uses. Having the details ready before you start keeps the build to ten minutes and stops you from guessing at a phone number halfway through.
Step 2. Pick a Layout
Choose a layout with the text on the right and the image on the left, or the text on the left and the image on the right. Both work, and the choice is about your logo. A wide logo suits the top, above the text. A square logo or a headshot suits the side, next to the text. Pick one layout and stick to it, because changing the layout halfway through the build wastes the time you saved by using a template. Keep the layout to two columns at most. A signature with three columns breaks on a phone.
Step 3. Add Your Name, Title, and Company
Enter your name in a bold font, slightly larger than the rest of the text. Under it, add your job title and your company name in a smaller size. If you have two real titles, list both, but no more than two. If your company name is long, use the short form clients actually use. This block is the identity of the signature, and it should be readable at a glance. A reader who has to hunt for the name will not hunt. They will move on.
Step 4. Add Contact Details and Links
Add your phone number and your website as the contact line, with the phone number first, because a reader who wants to talk will call before they browse. Make both clickable, with a tel link for the phone and a normal link for the website, so a reader on a phone can tap to call. Add one social link, usually LinkedIn, and no more than three links in total. Every extra link is a distraction, and a signature with five social icons looks like a social media profile, not a business sign off.
Step 5. Add the Logo or Headshot
Add a small logo or a professional headshot, no wider than 150 pixels and no larger than 50 kilobytes. A logo suits a company signature. A headshot suits a personal brand, a consultant, or a freelancer, because a face builds trust faster than a mark. Use a clear, well lit photo with a plain background, and crop it tightly. Do not use a holiday photo, a group photo, or a photo with sunglasses, because the signature is a business document, not a social profile. Host the image on your own website or on the generator’s server, not as an attachment, because attachments get blocked and the image disappears.
Step 6. Add a Disclaimer Only If You Need One
A legal disclaimer belongs in a signature only when your industry or your company requires it, such as finance, law, or healthcare. Keep it to two lines at most, in a smaller and lighter font than the rest, because a disclaimer that takes up half the signature tells the reader the email is a legal document, not a message. If your company does not require one, skip it entirely. A signature without a disclaimer looks cleaner, and a reader will not miss what was never there.
Step 7. Test on a Phone, Then Install
Send the signature to yourself and open the test email on your phone and on a desktop. Check that the layout holds, the image loads, the phone number is tappable, and every link works. Check that the signature does not wrap badly on a narrow screen, and that no text is cut off. If anything breaks, fix it in the tool and test again. This test takes three minutes and catches the errors that ruin most signatures. That test is the step people skip most often when they learn how to create a professional email signature, and it is the step that saves the most embarrassment.
To install in Gmail, open Settings, go to General, scroll to Signature, and paste the signature into the editor, then set it as the default for new emails and replies. To install in Outlook, open Settings, go to Mail, then Compose and reply, and paste the signature into the editor, then set it as the default. To install in Apple Mail, open Settings, go to Signatures, and paste the signature into the editor for the account. Each install takes under a minute, and the signature is live on the next email you send.
Design Rules That Make a Signature Look Professional
Size and layout get your signature delivered. Design is what makes it look like it belongs to a professional. The rules below are simple, and breaking any one of them is visible at a glance, even to a reader who knows nothing about design.
Restraint comes first. A signature is a sign off, not a brochure. Five lines of text, one image, and two or three links are enough. Anything beyond that is noise, and noise is what makes a signature look like a flyer. The test is simple. Read the signature aloud in one breath. If you run out of breath, cut words until you do not.
Fonts come second. Use one standard font for the whole signature, such as Arial, Georgia, or Verdana, at 11 to 13 pixels for the body text and slightly larger for the name. Avoid script fonts, because thin strokes vanish on some screens. Avoid using three or four fonts, because the signature starts to look like a ransom note. If your company already has a font from its website or its logo, use that same font here, and the signature will match the rest of the brand.
Colour comes third. One accent colour, taken from your logo or your website, is enough. Use it for your name or for a small divider line, and keep the rest of the text dark grey or black. Two colours plus the logo is the most a signature should carry. When in doubt, use black text and let the logo carry the colour. A signature that relies on colour to look good will look plain in a mail app that strips colours, and a signature that looks good in black and white looks good everywhere.
Images come fourth. One image is enough, and it should be a logo or a headshot, not a banner. A banner image at the bottom of every email looks like an advertisement, and readers learn to ignore it. A small logo builds the brand without shouting. A headshot builds trust without shouting. Both work. A banner does neither, and it also slows the email down and risks being blocked as an image.
Mistakes to Avoid With Your Email Signature
Most bad signatures fail in the same few ways, and each one is easy to avoid once you know to look for it. Run through this list before you install, because fixing a signature after it is live costs the same ten minutes as fixing it before, but the live version is the one clients judge you by. Each one comes from skipping a step in how to create a professional email signature, and each one is fixable before you install.
The first mistake is too much information. A signature with a quote, a mission statement, three phone numbers, five social icons, and a legal disclaimer is not a signature, it is a CV. Cut everything except the name, the title, the company, the phone, the website, and one social link. If a detail does not help the reader contact you, it does not belong in the signature.
The second mistake is an image only signature. A signature built entirely as one image looks great in the editor and fails in the real world, because the text cannot be copied, the phone number cannot be tapped, and some mail apps block the image entirely. Build the text as real text and the image as a small logo, so the signature works even when the image does not load.
The third mistake is a personal email address in a business signature. A signature that ends with a Gmail or Yahoo address tells the reader the business is not established enough to have its own domain. A professional address on your own domain costs a few dollars a month through Google Workspace or Microsoft 365, and it is the cheapest credibility a business can buy. Use the business address in the signature, even if you read the mail in Gmail.
The fourth mistake is a signature that breaks on mobile. A signature built on a wide desktop screen with three columns and a large image will wrap badly on a phone, with the logo on one line and the text scattered across the next three. Test on a phone before you install, keep the layout to two columns, and keep the width under 600 pixels. The phone test takes three minutes and it is the difference between a signature that works and one that only looks like it works.
The fifth mistake is never updating the signature. A signature with an old job title, an old phone number, or a dead social link tells the reader the sender is not paying attention. Review the signature every six months, and update it whenever your title, your phone, your website, or your branding changes. The editable file you saved makes this a five minute job.
Before You Send. The Signature Checklist
Use this checklist as the last step before you install. Every item should be a yes. If any item is a no, fix it in the tool and check again.
– The signature is 320 to 600 pixels wide, and any image is under 100 kilobytes. – The name, title, company, phone, and website are all present and correct. – The phone number is tappable on a mobile, and every link works. – The signature uses one standard font and one accent colour at most. – The text is real text, not part of an image, so it can be copied. – The signature looks right on a phone and on a desktop. – The disclaimer, if there is one, is two lines at most. – You have sent yourself a test email and opened it on your phone.

How to Choose the Right Tool for Your Signature
The tool matters less than the layout and the phone test, but the wrong tool can still waste an evening. Choose by how you work, not by which tool has the longest feature list. If you want a finished signature in ten minutes, use HubSpot’s free generator and start from a template. If you want the signature to match a strong brand, use Canva for the design and a generator for the text. If you manage signatures for a team, use WiseStamp or Newoldstamp and set one template for everyone.
Budget is the other factor, and here the news is good. A professional signature costs nothing but your time, because every tool above has a free tier or a free plan that covers the whole job. Paid plans buy team features and more templates, not quality. Spend money only when you manage signatures for a team and the central control saves more time than it costs. For a single signature, the free plan is the right call. The best pick by job is straightforward. HubSpot wins for most people because it is free and fast. Canva wins for brand matched design. WiseStamp wins for teams.
Related Guides
- QR Code Generator Pricing
- Resume Builder Pricing
- Best Free Resume Builders for Job Seekers: Complete 2026 Guide
Frequently Asked Questions
How to create a professional email signature for free?
Open HubSpot’s Email Signature Generator or Canva in your browser and start from a template. Enter your name, job title, company, phone number, and website, add a small logo or headshot, and add two or three links at most. Preview the signature on a phone, then paste it into Gmail under Settings and General, or into Outlook under Settings and Mail. Both tools are free for the signature workflow, and the whole job takes about twenty minutes.
What should a professional email signature include?
A professional signature includes your full name, job title, company name, phone number, website, and a small logo or headshot, plus two or three links at most, usually your website and one social profile. Keep it to five lines of text or fewer, keep the width between 320 and 600 pixels, and keep any image under 100 kilobytes. A legal disclaimer belongs there only when your industry or your company requires it, and it should be two lines at most.
How wide should an email signature be?
Keep the whole signature between 320 and 600 pixels wide. That width fits a phone screen and a desktop pane without breaking, and it keeps the layout to two columns at most. A signature wider than 600 pixels wraps badly on a phone, with the logo on one line and the text scattered across the next three. Test the signature on your own phone before you install it, and shrink the layout if anything wraps.
Can I use a photo in my email signature?
Yes, and a professional headshot often makes the best signature for a consultant, a freelancer, or a personal brand, because a face builds trust faster than a mark. Use a clear, well lit photo with a plain background, cropped tightly, no wider than 150 pixels and no larger than 50 kilobytes. Do not use a holiday photo, a group photo, or a photo with sunglasses. A logo suits a company signature better than a headshot, so pick the image that fits the sender.
How do I add a signature in Gmail?
Open Gmail, click Settings, go to General, and scroll to Signature. Click Create new, give the signature a name, and paste your signature into the editor. Set it as the default for new emails and for replies, then scroll down and click Save Changes. Send yourself a test email and open it on your phone to check that the layout holds, the image loads, and every link works.
How do I add a signature in Outlook?
Open Outlook, go to Settings, then Mail, then Compose and reply. Paste your signature into the editor, set it as the default for new messages and for replies, and save. In the Outlook desktop app, go to File, then Options, then Mail, then Signatures, and create the signature there. Send yourself a test email and open it on your phone to check that the layout holds and every link works.
The Bottom Line
A professional signature is a small job with an outsized return. Five lines of text, one small image, and two or three links tell a reader who you are, how to reach you, and that you take your work seriously, in the two seconds they spend at the bottom of your email. The tools are free, the process takes twenty minutes, and the checklist above catches the errors that ruin most first attempts. Build it once, test it on a phone, save the template, and revisit it every six months. Every email you send after today will end better than the ones you sent yesterday.
1 thought on “How to Create a Professional Email Signature”