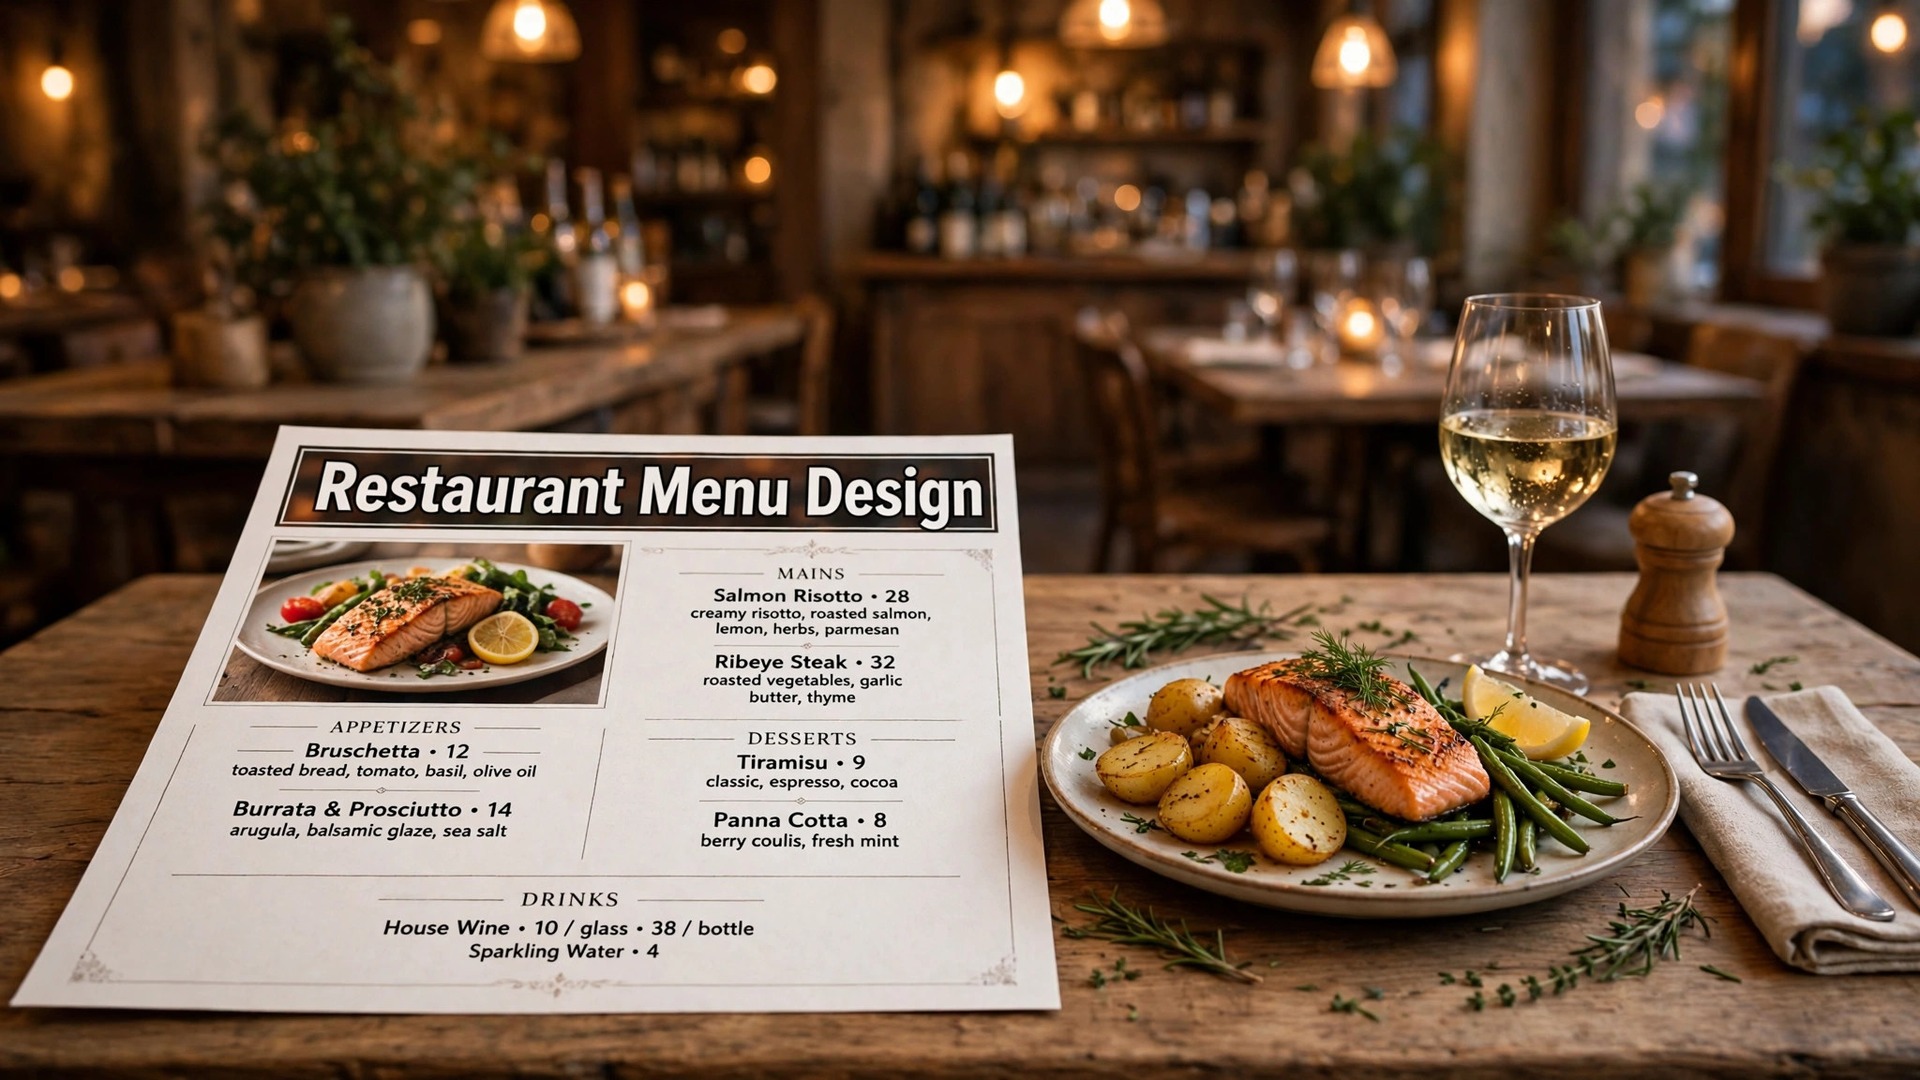
A printed menu and a QR menu look like two versions of the same thing. They are not. A printed menu is a sales tool that sits in a customer’s hands, and every choice on it, the order of the dishes, the size of the prices, the photos, or the lack of them, changes what gets ordered. A QR menu is a living document that can be updated in a minute, and every choice on it is about speed and readability on a phone screen. Most restaurants need both, and the design decisions for each are different, which is why learning how to design a menu for your restaurant starts with understanding both formats.
A menu is the most profitable piece of design a restaurant owns. It is read by every customer, it is read at the moment of decision, and it is the only marketing material a restaurant can be certain every guest will see. A well-designed menu raises the average order without raising prices, simply by putting the right dishes in the right places and making them easy to find. A badly designed menu does the opposite, hiding the best dishes behind clutter and confusing prices. This guide works through the whole process with real tools, real prices, and layout rules that come from how customers actually read.
In this article
- Quick Answer. How to Design a Menu for Your Restaurant in One Weekend
- Print Menu or QR Menu. The Choice That Shapes the Design
- The Best Tools for a Restaurant Menu
- How to Design a Menu for Your Restaurant, Step by Step
- Menu Layout Rules That Sell More Food
- Printing, Laminating, and Keeping Prices in Sync
- Mistakes to Avoid With Your Restaurant Menu
- How to Choose the Right Tool for Your Menu
- Related Guides
- Frequently Asked Questions
- The Bottom Line
Quick Answer. How to Design a Menu for Your Restaurant in One Weekend
Here is the short version. Open Canva free or iMenuPro and start from a restaurant menu template at 8.5 by 11 inches for a single page, or 11 by 17 inches for a larger menu. Put your best-selling and highest-margin dishes at the top of each section, where eyes land first, and keep the menu to one or two pages. Use one clear font for dish names and a smaller one for descriptions, keep prices in a neat right-hand column without dollar signs, and add two or three food photos at most, or none at all if the photos are not excellent.
Export a print-ready PDF at 300 dots per inch, print on card stock or laminate it, and build a matching QR menu from the same file so the prices stay in sync. The design takes a weekend of focused work. The printing takes a few days. The menu you finish with should be readable in dim light, scannable in thirty seconds, and easy to update when prices change.
| The decision | The standard choice | Why it works |
|---|---|---|
| Size for a single page | 8.5 by 11 inches | Fits a table, a frame, and a standard printer |
| Size for a larger menu | 11 by 17 inches, folded | Room for more dishes without crowding |
| Sections | 4 to 6, starters to desserts | A customer finds a dish in seconds |
| Dishes per section | 5 to 8 | Enough choice, not so much it paralyses |
| Fonts | Two at most | Keeps the menu calm and readable |
| Photos | 2 or 3 at most, or none | Bad photos hurt more than no photos |
| Prices | Right-hand column, no dollar signs | Reads cleanly and feels less expensive |
| File format | PDF at 300 DPI, CMYK | Prints sharply with true colours |
| Best free tools | Canva, Adobe Express | Templates, free export |
| Best menu-specific tool | iMenuPro, $16 a month or $135 a year | Menus, QR codes, and print in one tool |
| Time for a first menu | One weekend | Most of it is deciding the dishes |
Print Menu or QR Menu. The Choice That Shapes the Design
A printed menu and a QR menu serve the same customer in different moments. The printed menu sits on the table, and the customer holds it, turns it over, and reads it while they wait. The QR menu lives on a phone, and the customer scrolls it while they talk. The printed menu can be beautiful, with texture, weight, and colour that a screen cannot match. The QR menu can be updated in a minute, and a price change never means a reprint. Most restaurants need both, and the design should start from the printed menu, because the printed menu is the one that sells.
The printed menu is the sales tool. It is the one where layout psychology matters, where the eye is guided to the high-margin dishes, and where the design earns its keep. The QR menu is the utility tool. It is the one where speed, readability, and accurate prices matter, and where a customer who cannot find a dish in ten seconds will ask the waiter instead. Build the printed menu first, with the full design. Then build the QR menu from the same content, simplified for a phone screen, with the same dishes in the same order and the same prices.
The two menus must match, and that is the first rule in how to design a menu for your restaurant. A customer who sees a dish on the printed menu and cannot find it on the QR menu will think the dish is gone.
A customer who sees a different price on the phone and on the table will think the restaurant is careless. Keep one source of truth for the dishes and the prices, and update both menus from it. Tools like iMenuPro and MustHaveMenus hold the menu as live data, so one price change updates the print file, the website, and the QR code at the same time. That is the feature that matters most for a restaurant that changes prices more than twice a year.
The Best Tools for a Restaurant Menu
You do not need paid software to make a menu that looks professional, but the menu-specific tools earn their price when the menu changes often. The tools below cover every job in how to design a menu for your restaurant, from a one-off printed menu to a living QR system.
Canva. The Fastest Start for a Printed Menu
Canva is the fastest route to a printed menu that looks professional. Its template library includes hundreds of restaurant menus, from fine dining to food trucks, and the free plan covers the whole job, including templates, text, stock food photos, and PDF export. Pro costs about $18 a month or $144 a year and adds a brand kit, background removal, and one-click resize. The weakness is that Canva holds the menu as a design, not as data. When a price changes, you open the design, change the number, and export again. For a menu that changes twice a year, that is fine. For a menu that changes monthly, it is a chore.
Adobe Express. The Best Free Plan for Food Photography
Adobe Express is the better pick when the menu leads with food photography. Its free plan includes background removal, Adobe Fonts, and a solid template library, and Premium costs $9.99 a month or $99.99 a year. The photo tools are stronger than Canva’s, which matters when the menu carries photos of dishes, because a food photo that looks dull will hurt sales. Adobe Express also handles the QR menu well, because the same design can be resized for a phone screen. The weakness is the same as Canva’s. The menu is a design, not data, and price changes are manual.
iMenuPro. The Best Menu-Specific Tool
iMenuPro is built for menus only, and it shows. It holds your menu as live data, so one price change updates the printed file, the QR menu, and the digital display at the same time. It includes a saved food database for seasonal specials and daily changes, and marking a dish as sold out removes it from the printed file, the web menu, and the QR code at once. Pricing is simple, one tier at $16 a month, or $11.25 a month on annual billing at $135 a year, with all features included and no upsells.
The interface is dated, and the templates are less polished than Canva’s, but the workflow is the point. For a restaurant that updates its menu regularly, iMenuPro is the best value in this list.
MustHaveMenus. The Best for Multi-Location Restaurants
MustHaveMenus is a restaurant-specific design platform with more than 25,000 templates for menus, table tents, social posts, and digital signage, all from a single dashboard. It integrates with Toast and Square point-of-sale systems, so menu prices can sync automatically, and it offers print ordering directly from the site.
Pricing starts at the Design plan at $24 a month, or $19 a month on annual billing, and the Pro plan at $49 a month, or $41 a month on annual billing, adds QR codes, digital signage, and an AI assistant. The Display feature for digital menu boards costs an extra $20 per screen per month. MustHaveMenus charges per location, so a five-site group pays five times the base price. For a single restaurant, iMenuPro is cheaper. For a group that needs brand control, POS sync, and print ordering in one place, MustHaveMenus is the stronger platform.
PosterMyWall. The Quick Alternative
PosterMyWall offers menu templates with a simpler interface than Canva, and its paid plans start from about $9.95 a month. The free plan covers menu design, and the templates lean towards casual dining, cafes, and food trucks. It suits a small restaurant that makes a menu once and prints it, without needing live data or POS integration. If Canva’s interface feels crowded, PosterMyWall is worth a look, but it does not match iMenuPro for menu management or MustHaveMenus for template depth.
| Tool | Free plan | Paid from | Menu as live data | Best for |
|---|---|---|---|---|
| Canva | Yes, fully | Pro about $18 a month or $144 a year | No | Fastest printed menu |
| Adobe Express | Yes, fully | Premium $9.99 a month or $99.99 a year | No | Photo-led menus |
| iMenuPro | No, 7-day trial | $16 a month, or $11.25 a month annual | Yes | Menus that change often |
| MustHaveMenus | Yes, limited | Design $24 a month | Yes, with POS sync | Multi-location groups |
| PosterMyWall | Yes | From about $9.95 a month | No | Quick casual menus |
How to Design a Menu for Your Restaurant, Step by Step
With the tool chosen, the build follows eight steps. Work through them in order, and print a test copy before you order the full run.
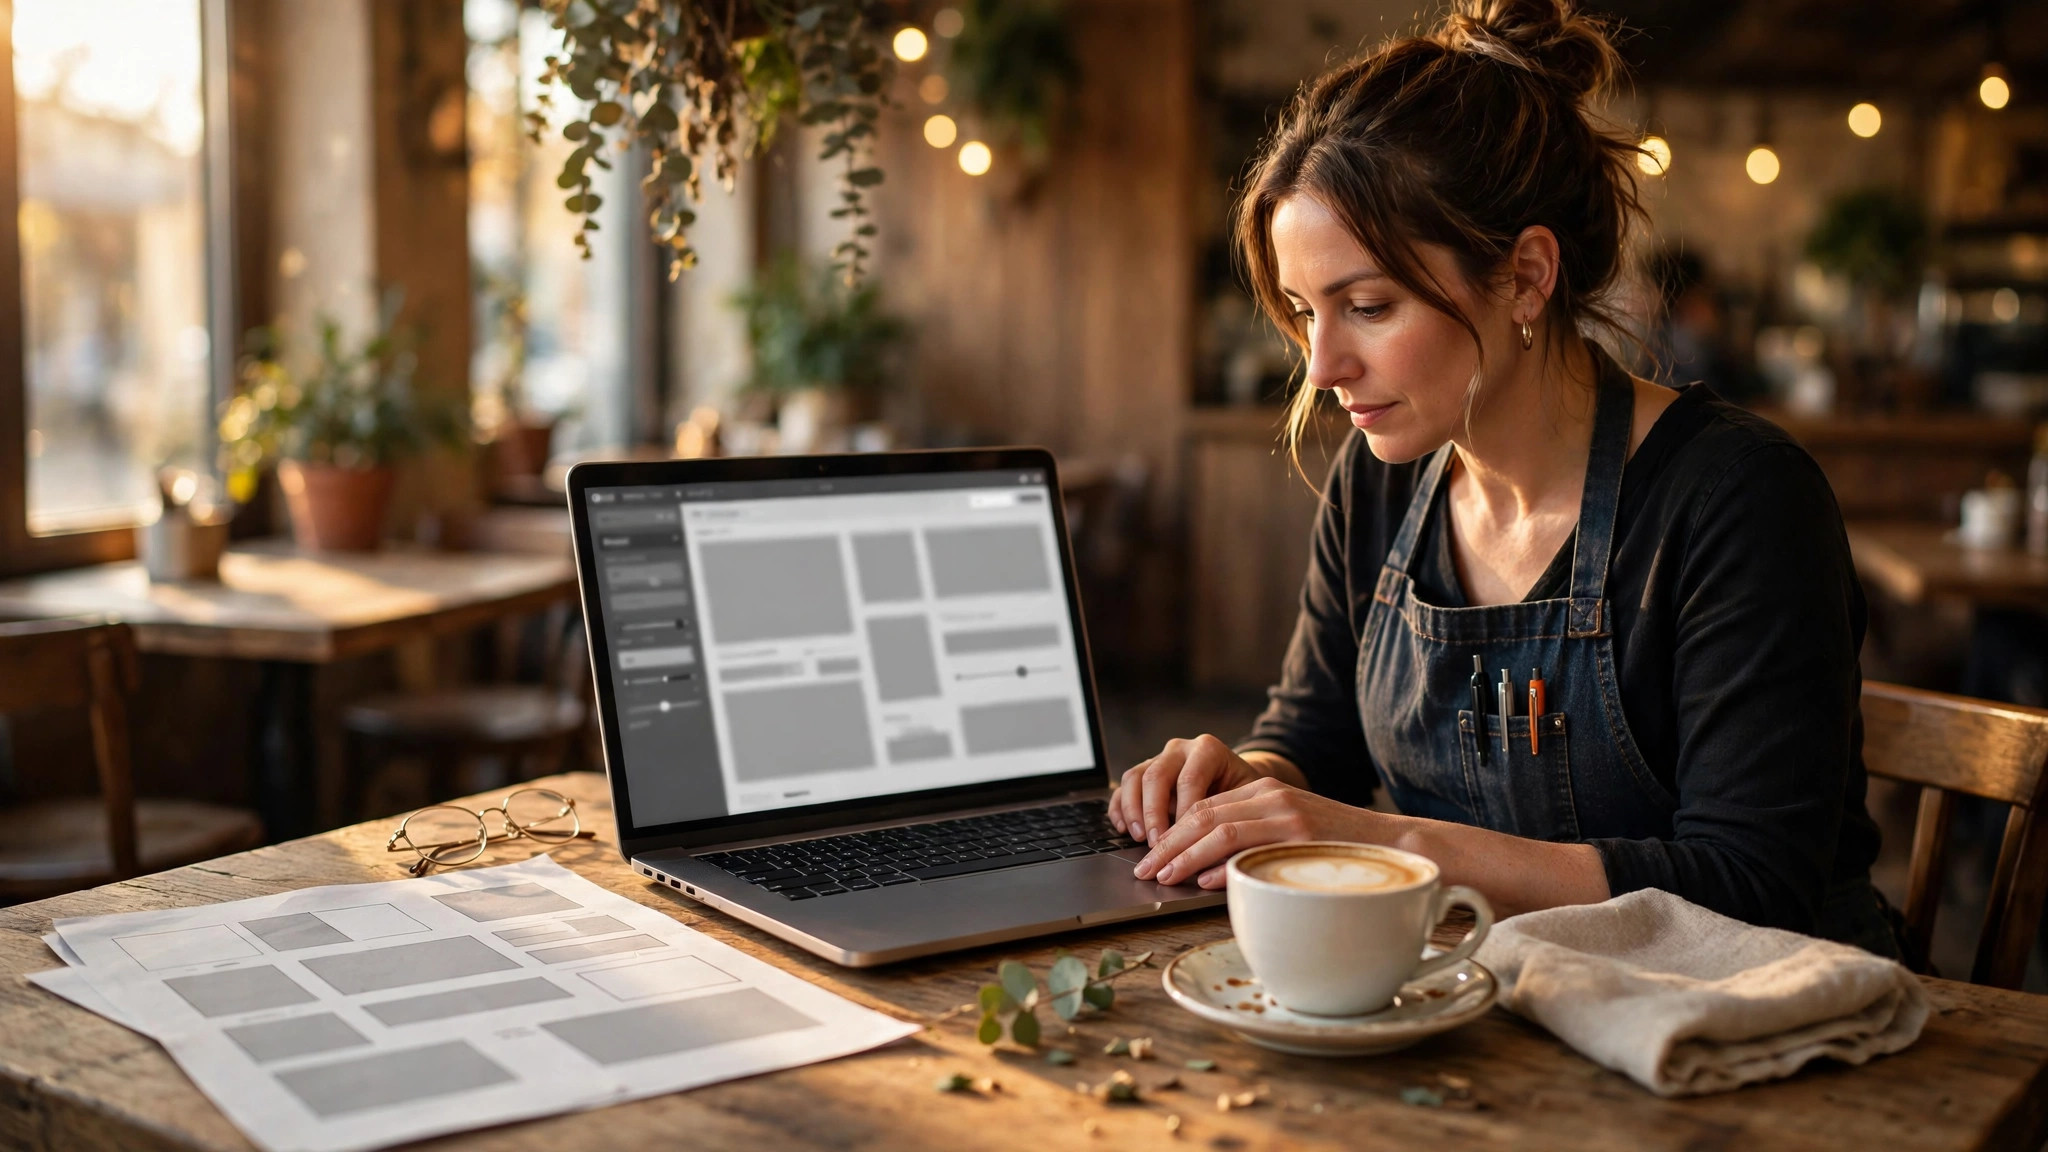
Step 1. Decide What Goes on the Menu
Before you open any tool, decide the dishes. A menu with too many dishes confuses customers and slows the kitchen. A menu with too few dishes sends customers elsewhere. The sweet spot is 5 to 8 dishes per section, across 4 to 6 sections, from starters to desserts. List every dish, check the food cost and the margin on each one, and mark the three dishes that earn the most and sell the best. Those three are the dishes the layout must favour. If a dish has not sold in a month, consider dropping it. A shorter menu is a stronger menu.
Step 2. Write the Descriptions
Write a short description for each dish, one or two lines, naming the main ingredients and the cooking method. A description that says “grilled chicken” tells the customer nothing. A description that says “char-grilled chicken with lemon, garlic, and rosemary, served with roast potatoes” tells them what they will taste. Keep the language plain and appetising, and avoid words that mean nothing, such as “delicious” or “tasty”, because every dish on the menu is supposed to be delicious. Mention allergens clearly, and mark vegetarian, vegan, and gluten-free dishes with a small symbol and a key at the bottom of the page.
Step 3. Set the Prices
Price the dishes before you design the layout, because the prices shape the design. The menu engineering rule is simple. Put the highest-margin dishes where eyes land first, which is the top of each section and the top right of the page. Do not use dollar signs, because a column of dollar signs reminds the customer they are spending money. Use plain numbers, aligned in a neat right-hand column, in the same size as the dish names or slightly smaller. Avoid prices that end in 99, because they read as cheap, and avoid round numbers that end in 00, because they read as expensive. Prices that end in 5 or 0 feel honest and are easier to read.
Step 4. Choose the Size and the Layout
Pick the size from the number of dishes. A single page at 8.5 by 11 inches suits a cafe or a small restaurant with 20 to 30 dishes. A larger menu at 11 by 17 inches, folded, suits a restaurant with 40 or more dishes. Set the canvas to that size, and divide the page into sections with clear headings. Starters at the top, mains in the middle, desserts at the bottom. The customer should be able to find a dish in seconds, without hunting. Use boxes or rules to separate sections, but keep the dividers light, because heavy boxes make the menu look crowded.
Step 5. Place the Dishes Where Eyes Land
Eyes land first on the top of the page, then on the top right, then on the first item in each section. Put your best dishes there. The highest-margin starter goes first in the starters section. The highest-margin main goes first in the mains section. The dish you want to sell most goes at the top right of the page, which is the spot the eye reaches first when the menu is opened. Dishes that sell themselves, the house burger or the signature pasta, can sit lower down, because customers will look for them. Dishes that need a push, the high-margin special or the new seasonal dish, need the prime spots.
Step 6. Add Photos Sparingly, or Not at All
Photos on a menu are a gamble. Two or three excellent food photos can sell a dish before the customer reads the description. Ten mediocre photos make the menu look like a takeaway flyer. If your food photography is professional, add two or three photos of the signature dishes, large and well-lit. If it is not, use no photos at all, and let the typography carry the menu. A menu with no photos looks confident. A menu with bad photos looks cheap. When in doubt, skip the photos, and spend the money on a photographer for the signature dishes only.
Step 7. Choose Two Fonts and Check Readability in Dim Light
Use one font for dish names and one for descriptions, and keep both readable in dim light, because restaurants are rarely bright. A clean serif for the dish names and a simple sans-serif for the descriptions is the classic pairing, and it suits most restaurants. Test the menu by printing it and reading it under a table lamp, not under your desk light. If you cannot read the descriptions, enlarge the font or lighten the paper. A menu that cannot be read is a menu that does not sell.
Step 8. Export, Print a Test Copy, and Build the QR Menu
Export the menu as a PDF at 300 dots per inch in CMYK colour mode, and print one test copy on the paper you will use. Read it the way a customer would, at the table, in the restaurant’s light. Check the prices, the spelling, and the alignment. Then build the QR menu from the same content, simplified for a phone screen, with the same dishes in the same order and the same prices. Test the QR code with two phones, and print the code on a table stand. The printed menu sells. The QR menu serves. Both must be right before the doors open.
Menu Layout Rules That Sell More Food
Size and tools get your menu printed. Layout is what makes it sell. Layout is the working core of how to design a menu for your restaurant, because it decides what gets ordered. The rules below come from how customers actually read a menu, and they are worth more than any template.
The eye reads in a pattern, and the pattern is predictable. On a single page, the eye starts at the top, moves to the top right, then scans down the right side before coming back to the left. On a two-page menu, the eye starts on the right-hand page. Put the dishes you want to sell in the spots the eye reaches first, and put the dishes that sell themselves in the spots the eye reaches last. The layout is a map of attention, and the high-margin dishes belong on the main roads.
Price placement matters as much as dish placement. A price tucked directly after the dish name, on the same line, invites the customer to compare prices before they compare dishes. A price in a neat right-hand column, separated from the names by white space, lets the customer read the dishes first and notice the prices second. That small separation raises the average order, because the customer chooses the dish they want before they check what it costs. It is a subtle effect, and it works.
Descriptions should be short and specific. One or two lines, naming the main ingredients and the cooking method, and nothing else. A description that lists every ingredient in the dish is a recipe, not a menu entry. A description that says nothing is a missed sale. The best descriptions make the customer imagine the taste, and they do it in ten words. “Char-grilled, lemon, garlic, rosemary” does more work than “our famous chicken, cooked to perfection”.
White space is the last rule, and the most ignored. A menu with generous space between sections and between dishes looks calm and confident, and the customer reads it without effort. A menu crammed to the edges looks desperate, and the customer skims it without choosing. Leave the margins wide, leave space between sections, and resist the urge to fill every gap. The empty space is what lets the dishes stand out.
Printing, Laminating, and Keeping Prices in Sync
A menu that is reprinted every time a price changes is a menu that costs money and time. Keeping prices in sync is the part of how to design a menu for your restaurant that most guides skip, and it is the part that decides whether the menu stays accurate.
The fix is to design for change from the start. Keep the menu file editable, keep the prices in one place, and use a tool that holds the menu as live data when the changes are frequent. iMenuPro and MustHaveMenus both update the print file, the QR code, and the website from one price change, which is the feature that pays for itself in a restaurant that changes prices more than twice a year.
For printing, card stock or laminated menus last longer and feel better in the hand than standard paper. A single-page menu on 200 gsm card stock, or a laminated menu that can be wiped clean, survives a busy service without curling or staining. The cost is a little higher per menu, but a menu that lasts six months costs less than a menu that is reprinted every month. Print ten to twenty copies for the tables, and keep the file for reprints, because the next print run should take minutes, not a redesign.
The QR menu needs the same care. Generate the QR code from a dynamic link, so the destination can be updated without reprinting the table stand. Test the code with two phones, in the restaurant’s light, from the distance a customer sits at. A code that scans at your desk and fails at a candlelit table is a code that needs to be larger or printed on matte paper. Keep the QR menu updated with the same prices as the printed menu, and check both every time a price changes. A mismatch between the two menus is the fastest way to lose a customer’s trust.
Mistakes to Avoid With Your Restaurant Menu
The first mistake is too many dishes. A menu with fifty dishes confuses customers, slows the kitchen, and wastes food. A menu with twenty well-chosen dishes sells more, because the customer can decide. Cut the dishes that have not sold in a month, and the menu gets stronger, not weaker.
The second mistake is prices that shout. A column of dollar signs, prices in a larger font than the dish names, or prices that end in 99 all remind the customer they are spending money. Use plain numbers in a neat column, in the same size as the dish names or slightly smaller, and the customer will choose the dish before they check the price.
The third mistake is bad food photos. A dark, blurry photo of a dish will put a customer off ordering it, however good it tastes. Use two or three professional photos, or no photos at all. A menu with no photos looks confident. A menu with bad photos looks cheap.
The fourth mistake is a menu that cannot be read in dim light. Small text, light grey on white, or a fancy script font all fail in a candlelit restaurant. Test the menu under a table lamp, not under your desk light, and enlarge the font until it reads easily. A menu that cannot be read is a menu that does not sell.
The fifth mistake is a QR menu that does not match the printed menu. A dish on the table and missing from the phone, or a price that differs between the two, tells the customer the restaurant is careless. Keep one source of truth for dishes and prices, and update both menus from it, every time.
The sixth mistake is never updating the menu. A menu with a dish that is always sold out, or a price from last year, tells the customer the restaurant is neglected. Review the menu every season, drop the dishes that do not sell, and update the prices the day they change. The editable file you saved makes this an afternoon’s work, not a rebuild.
How to Choose the Right Tool for Your Menu
The tool matters less than the dishes, but the wrong tool can still waste a weekend. Choose by how often the menu changes, not by which tool has the prettiest templates. If the menu changes twice a year, use Canva free and a template, because the design is the job and the updates are rare. If the menu changes monthly, use iMenuPro, because the live data and the QR sync save hours every month. If you run several locations and need POS sync, use MustHaveMenus. If the menu leads with food photography, use Adobe Express.
The how to design a menu for your restaurant decision is really a change decision. A menu that never changes needs a design tool. A menu that changes often needs a menu tool. Pick the tool that matches how often the prices move, and the design will follow.
Related Guides
- Vistaprint vs Moo Business Cards
- Best Brochure Makers for Small Business
- Best Business Card Makers Online
Frequently Asked Questions
What size should a restaurant menu be?
Use 8.5 by 11 inches for a single-page menu with 20 to 30 dishes, and 11 by 17 inches, folded, for a larger menu with 40 or more dishes. Design at the size you will print, because a menu designed small and printed large looks soft. Check the size against the table and the frame you will use, because a menu that does not fit its setting never gets read properly.
Can I design a restaurant menu for free?
Yes. Canva and Adobe Express both offer free menu templates with free PDF export, and both cover the whole job for a printed menu. iMenuPro offers a 7-day free trial, and its paid plan costs $16 a month or $135 a year. MustHaveMenus offers a limited free plan, with paid plans from $24 a month. For a single printed menu, the free tools are enough.
Should I use photos on my menu?
Use two or three professional food photos, or none at all. Excellent photos sell dishes before the customer reads the description. Mediocre photos make the menu look like a takeaway flyer, and they hurt sales more than no photos. If your food photography is not professional, skip the photos, let the typography carry the menu, and spend the money on a photographer for the signature dishes only.
How do I make a QR code menu?
Build the menu content first, then generate a QR code that links to an online version of the menu, using a tool like iMenuPro, MustHaveMenus, or a QR generator such as QRCodeChimp or Flowcode. Use a dynamic QR code so the destination can be updated without reprinting the table stand. Test the code with two phones in the restaurant’s light, and keep the QR menu prices in sync with the printed menu.
How many dishes should a menu have?
Aim for 5 to 8 dishes per section, across 4 to 6 sections, from starters to desserts, for a total of 20 to 40 dishes. Enough choice to satisfy different tastes, not so much that the customer cannot decide. A menu with too many dishes confuses customers and slows the kitchen. Cut the dishes that have not sold in a month.
How often should I update my restaurant menu?
Review the menu every season, and update the prices the day they change. Drop the dishes that do not sell, add seasonal specials, and check that the printed menu and the QR menu match after every change. A menu with a dish that is always sold out, or a price from last year, tells the customer the restaurant is neglected. Keep the editable file so each update takes an afternoon, not a rebuild.
The Bottom Line
A good menu is a sales tool disguised as a list of dishes. One page, built at the right size, with the best dishes where eyes land first, prices in a neat column without dollar signs, and two or three excellent photos, will raise the average order without raising prices.
The tools are free or cheap, the design takes a weekend, and the file you save will serve every update for years. Build the printed menu first, build the QR menu from the same content, keep the prices in sync, and test the menu in the restaurant’s light before the doors open. Your menu will sell the food, because it was built for the customer reading it, not for the person who designed it.
2 thoughts on “How to Design a Menu for Your Restaurant”